Tuesday, December 03, 2013
Wednesday, March 10, 2010
Peeled-off Stickers

 modified the tutorial from here: http://pshero.com/photoshop-tutorials/graphic-design/peeled-back-sticker-effect-ii
Buttons

 tutorial can be found here: http://psd.tutsplus.com/tutorials/photo-effects-tutorials/photoshop-button-maker/
Wednesday, October 21, 2009
Thursday, February 26, 2009
Monday, November 03, 2008
Friday, August 22, 2008
Friday, March 14, 2008
Multiplicity
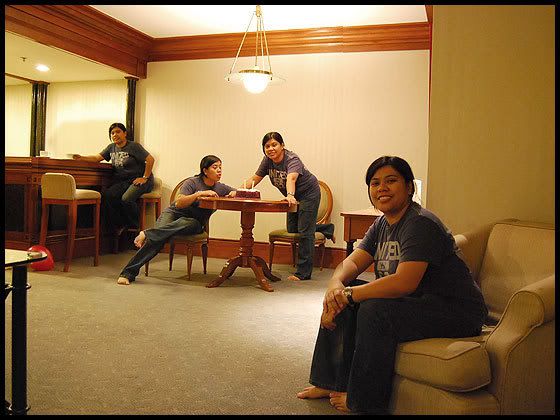
Ok... you don't need supper powers for this. All you need is a tripod (or any steady surface), a non-cluttered background, a camera with self-timer, and of course... Photoshop!
Steps:
1. Set the background. Remember to check the small details like a toy, or mug lying around. Everything should be identical in the series of shots you're going to take. So if you are in a sofa or bed, make sure even the crease of the sheets is the same.
2. Set your camera on a tripod and put it on self timer.
3. Take pictures of you in different locations within the same frame.
Now the editing part...
4. Open the first picture in the series.
5. Open the second picture, select all (Ctrl-A), then drag it over the first picture using the move tool (V)
6. Set the Opacity of the second picture to 30% (in the Layer window)
7. Erase (or delete) the part where you want the picture in the lower layer to surface. The point here is to create a "window" or opening to reveal the layer below.
8. Merge down the first combination (Ctrl-E). Then repeat steps for the other pictures.


